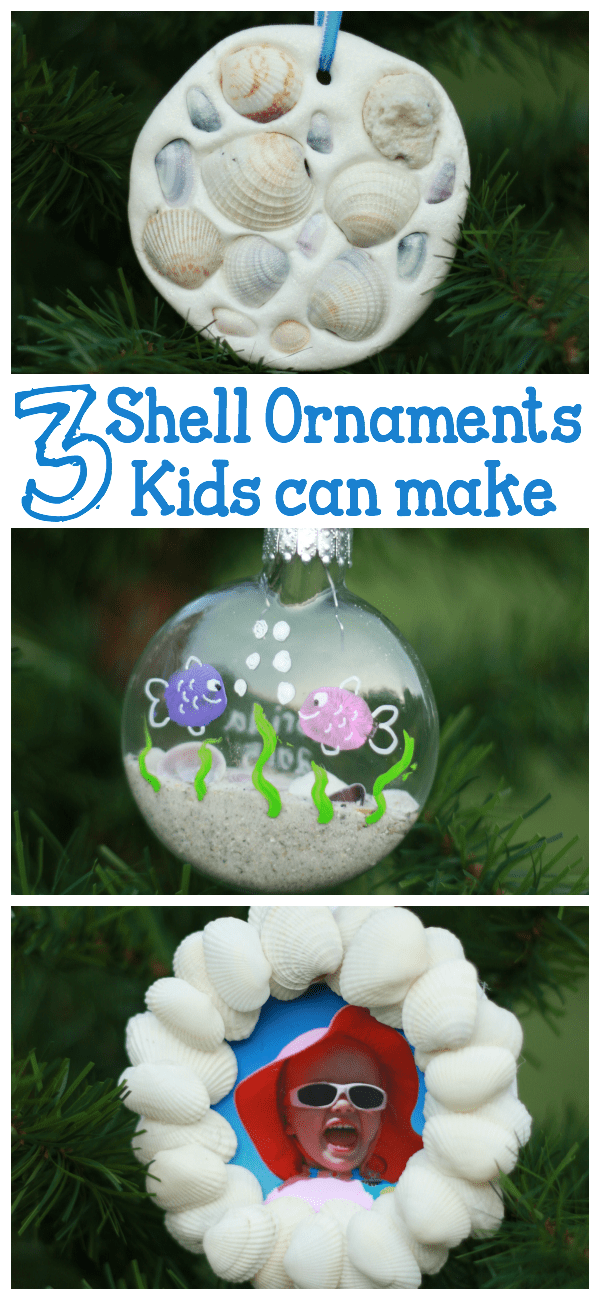
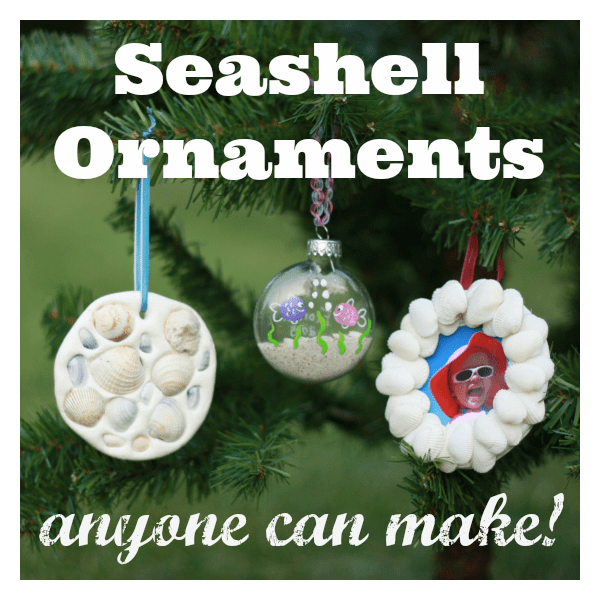
Seashell Ornaments Kids Can Make

Post past Contributing Author Amy
Each year, the kids and I make a Christmas ornament together to call back the year. When they leave home, they will have their own collection of bootleg retentivity ornaments to take with them. Except their babe handprint ornaments….those will hang on my tree until I'm a VERY old lady!
These iii Trounce Ornaments kids can make are perfect for all ages and abilities, whether y'all have a toddler or teenagers! :)
We got a little fleck of Christmas in July by making seashell ornaments to retrieve our summertime holiday. Nosotros returned from Florida with fun memories and a big purse of seashells…that stunk! Whew! I had to figure out something to do with them considering I could non stand that smelly bag sitting effectually for much longer.
Before making the ornaments, I had to deal with the stench:
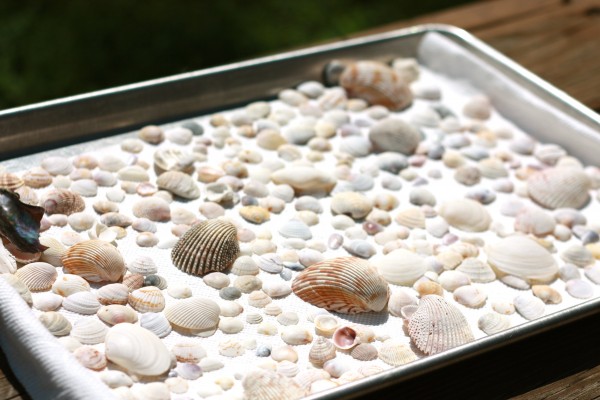
- Rinse shells and spread on a pan to dry in the sunday. If they nonetheless stink after that, expect carefully through them to see if there is anything in them that was really living when y'all took it. In our case, information technology was a tiny clam and a beat with some barnacles on it.
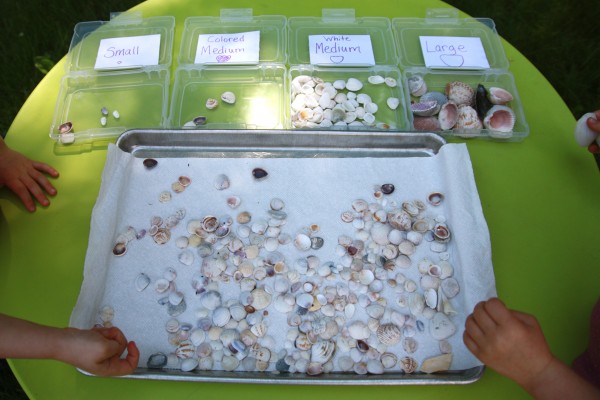
- Have your kids help you sort the shells into containers past attributes. This is nifty do in classifying objects. For making all iii ornaments, sort the shells into small, medium, and large. In addition, the medium shells need to be sorted into "colored" for the imprinted ornamentation and "white" for the wreath photograph ornament.
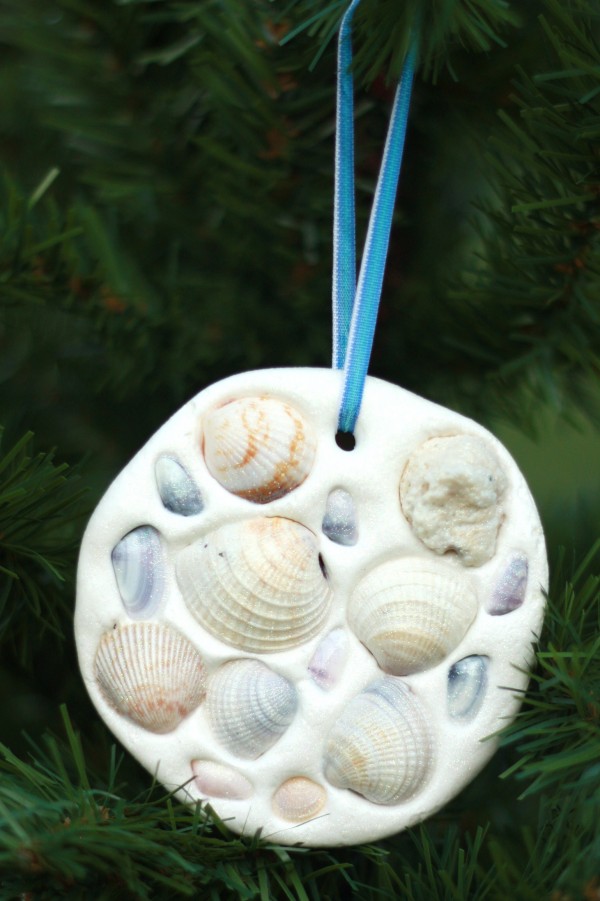
Seashell Imprint Ornament
Age: Toddlers and up

Supplies: White Crayola Model Magic, rolling pivot, colored shells, straw, ribbon, and a drinking glass. Ultra fine glitter pigment and paintbrushes are optional, simply everything is better with glitter, right?
- Scroll out the Model Magic so it's between ¼ and ½ inch thick.
- Use the top of your glass to cutting out a circumvolve.
- Use the harbinger to cut a small circumvolve out at the top of the ornament to put the ribbon through for hanging.
- Ask children to choose both medium and minor colored shells to push into the model magic.
- Let dry. According the package, it will be completely dry in about 3 days.
- Pigment with a glitter glossy paint, if you lot like. I really like how ours turned out with it!
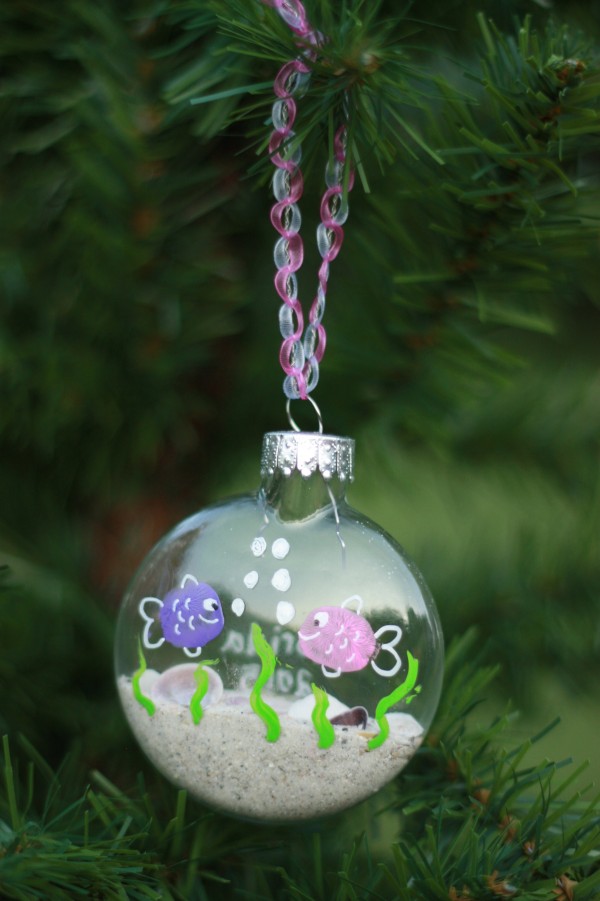
Thumbprint Fish Ornamentation
Historic period: Preschool and upward

Supplies: Clear drinking glass ornaments (I used these disc ornaments from Amazon), beach sand, tiny sea shells, small plastic bag, pigment that can exist used on glass, fine tip white paint marker, ribbon, fine tip and medium tip paint brushes. Moisture wipes come in handy as well!
- Accept the cap off your decoration.
- Put sand in the small plastic bag and use a scissors to snip off a corner.
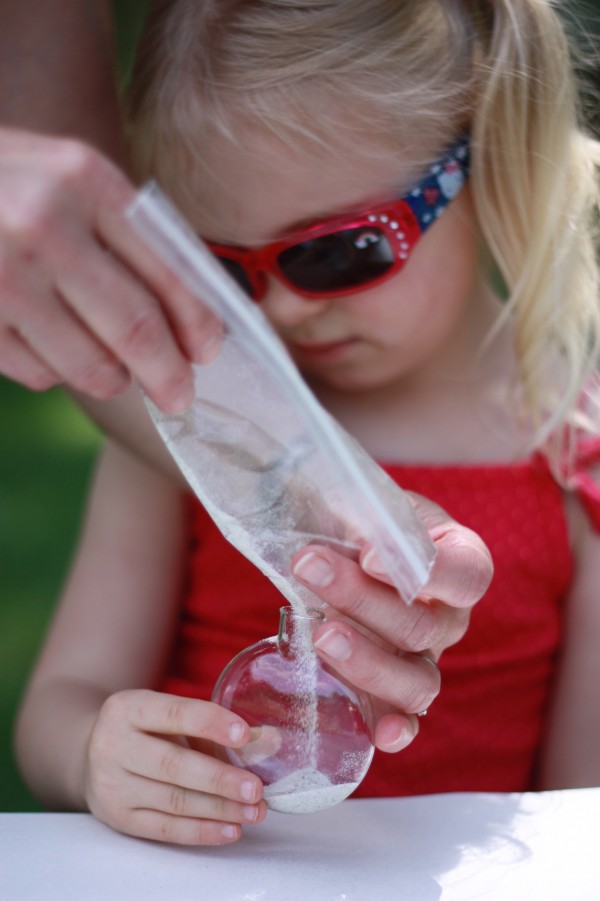
- Fill the ornament about a quarter of the way full with sand.
- Accept your child look at the ornament opening and inquire them to find shells that will fit inside. This is great for spatial reasoning.
- Before painting, take your child plan how many thumbprint fish they want on their ornamentation. They can check that their plan will work past placing their pollex on the decoration where their fish volition go.
- Apply the medium paintbrush to paint their thumb(southward).

- Instruct them to gently postage stamp their pollex on the ornament. Y'all can wipe it off easily if information technology smears and try again.
- Wait a few minutes to dry.
- Using the white marking, add details to make each thumbprint into a fish likewise as bubbles from the oral cavity.
- Using the fine castor, y'all or your child depending on age, can make a few squiggles of seaweed. This could exist done with a fine tip green paint marking likewise.
- Optional: On the back of the decoration, utilise the white pigment mark to write the destination of your beach trip and yr. I allow the girls make their attempt at writing their names every bit well.
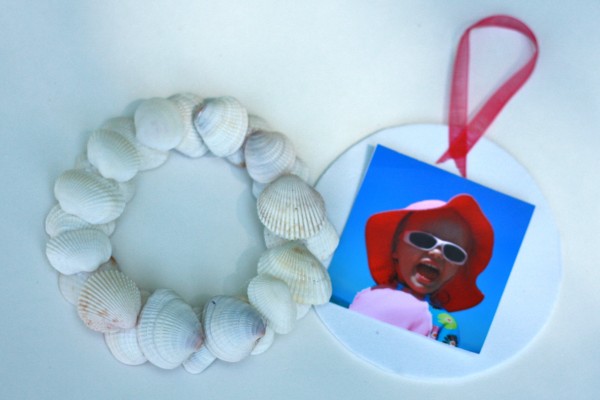
Seashell Wreath Photo Decoration
Age: School age and upward. Hot glue is involved so please employ caution! A preschooler could assist you, but you will do about of the ornamentation.
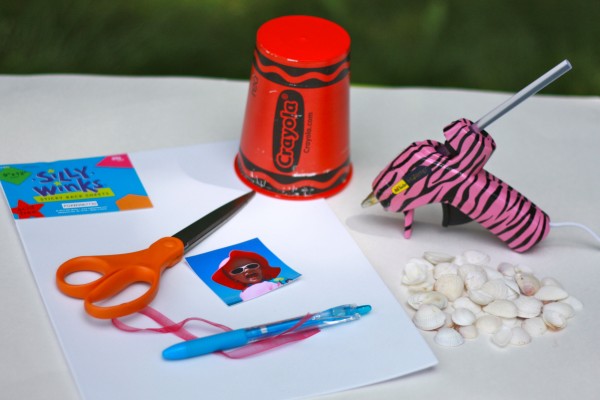
Supplies: White medium sized shells (I used 26), hot gum gun, white craft foam, pen, loving cup to trace, ribbon, and a small photo of your child on vacation. Ultra fine glitter pigment for the shells is optional.
- Use the cup to trace two circles on the white arts and crafts foam. My cup was 3 and five/8 inches in diameter.
- Cutting out ii circles, i will exist the base for the wreath, and one will be the back.
- On one circle, draw an inner circle and cutting it out to exit you with about a 5/8 inch band. Information technology doesn't accept to exist perfect since the cream should not show.
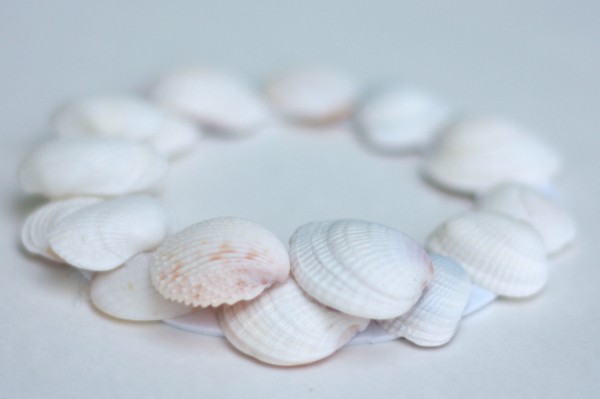
- Hot gum your shells around the ring. The flattest shells worked the all-time
- Hot gum a second layer of shells filling in the gaps so the cream is not visible
- If you are going to pigment the shells with glitter sleeky paint, do that at present and permit it dry out.
- Place your photograph on the back circle. My photo was about a two½ inch foursquare.
- Glue the ribbon to the dorsum circle.
- Glue the back circle to the beat wreath.
- Let your older child write the destination, yr, and proper noun on the dorsum.

We used all the "nigh cute" pocket-size and medium shells in making ornaments, so the largest shells became a fun improver to the sandbox. Beach vacation memories were preserved and the stinky shells are off my kitchen counter. Merry Christmas in July to me!
Amy is a former reading and tertiary grade teacher as well equally a female parent to three little girls with big personalities. She believes joy tin e'er exist found in playing, learning, and ice cream.
Reader Interactions
Source: https://www.icanteachmychild.com/seashell-ornaments-kids-can-make/
Post a Comment for "Seashell Ornaments Kids Can Make"